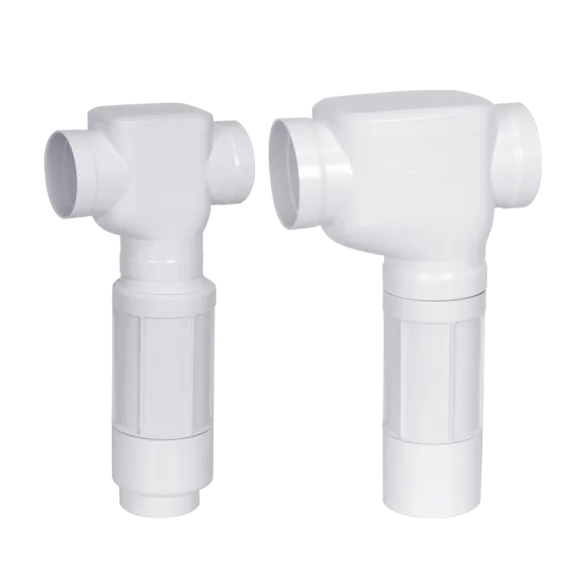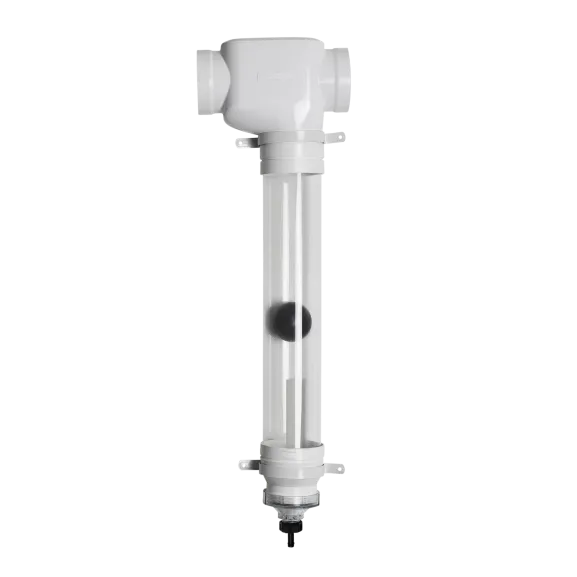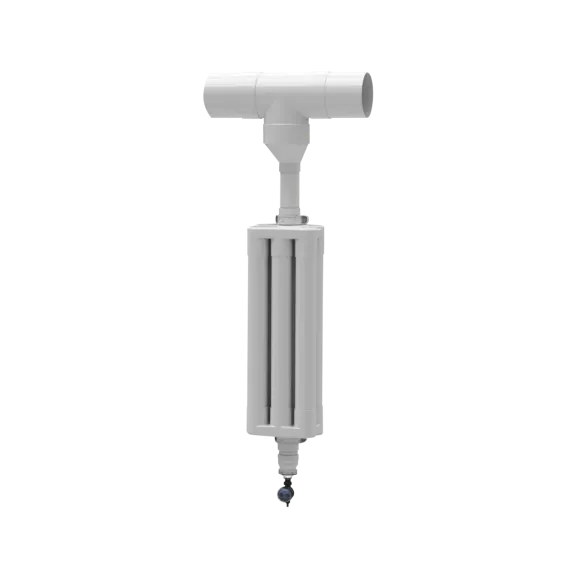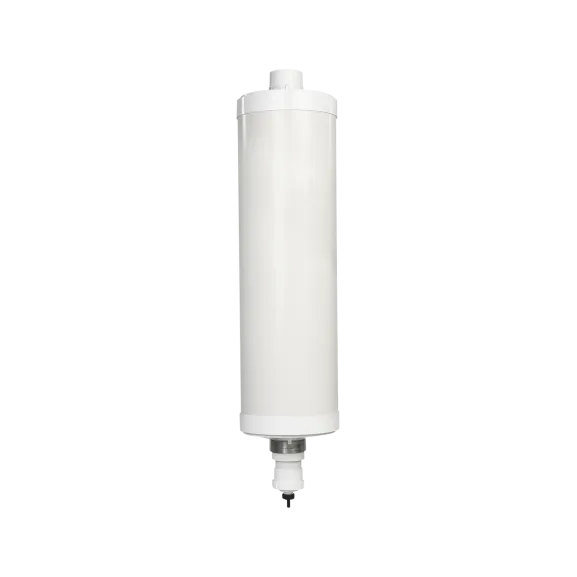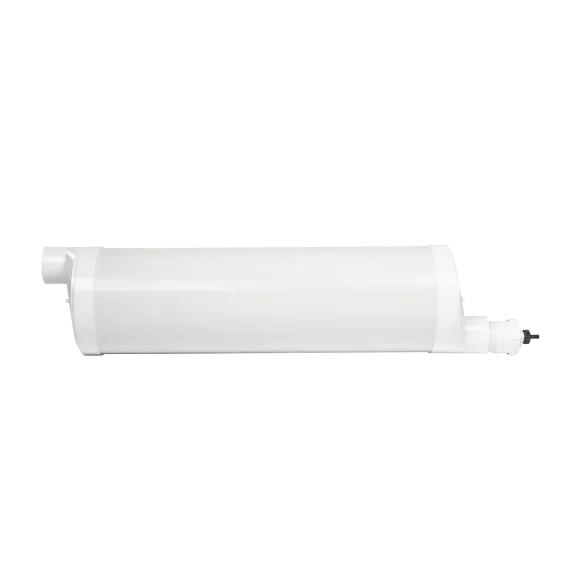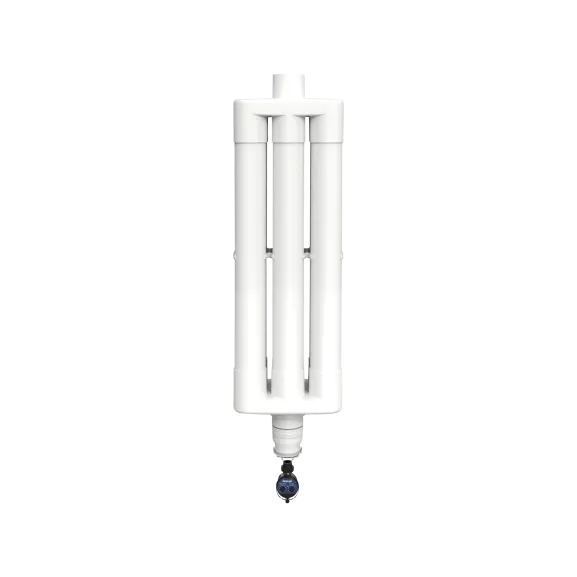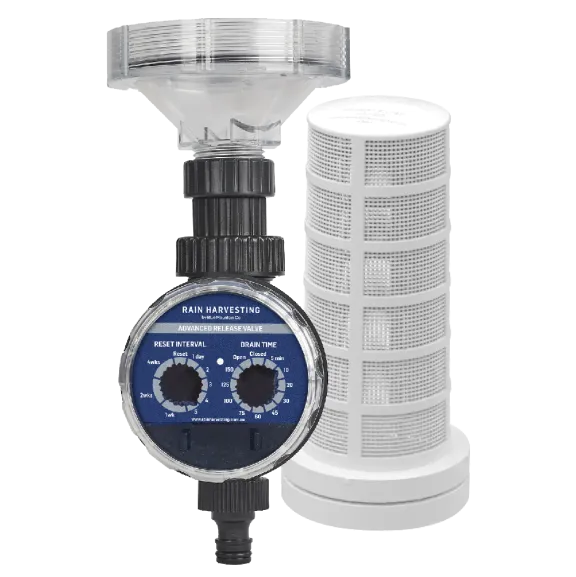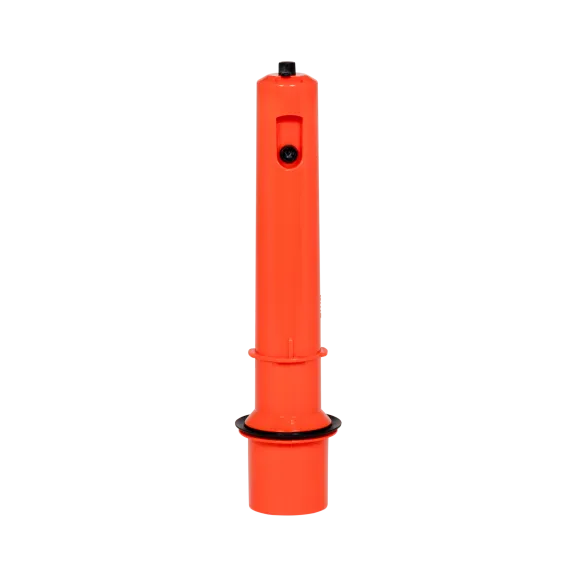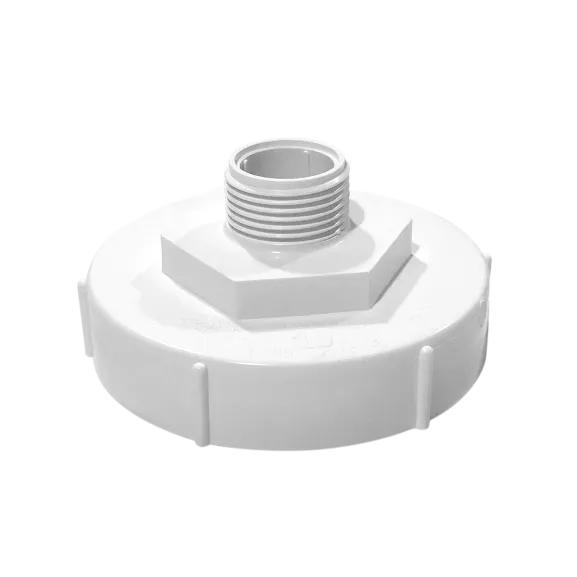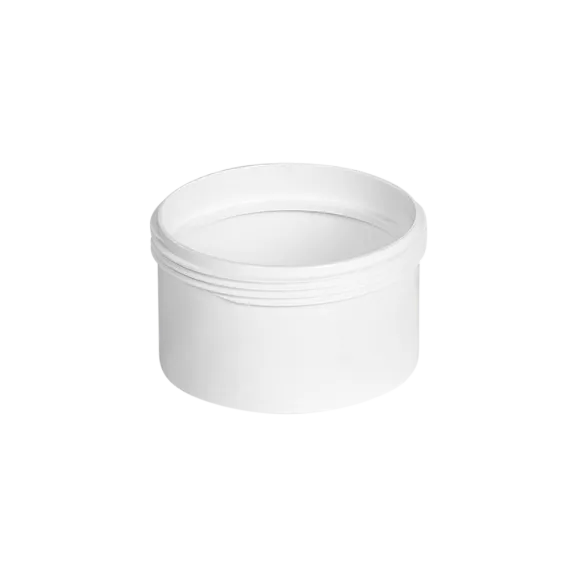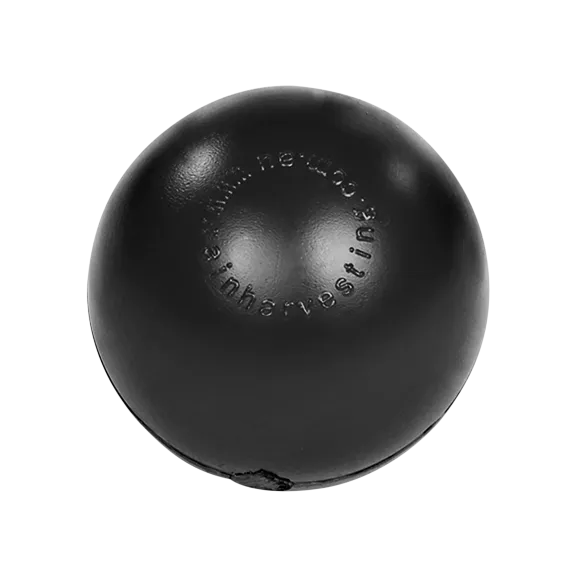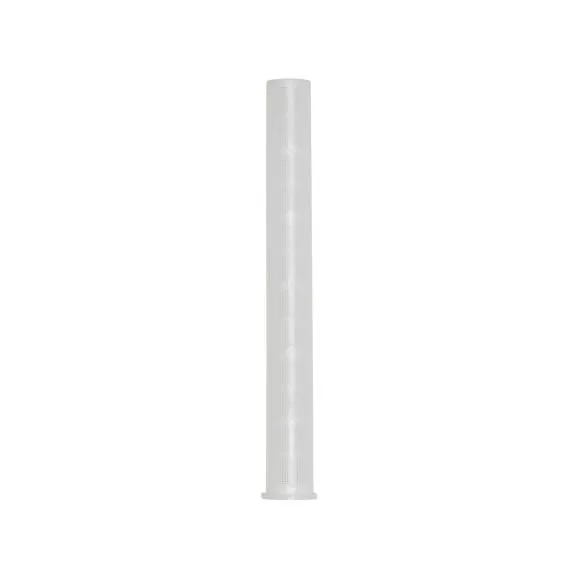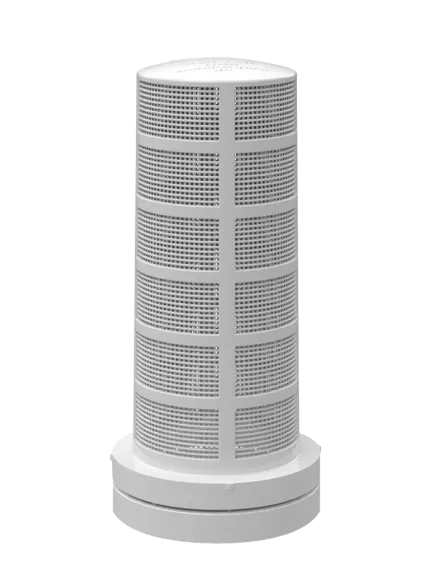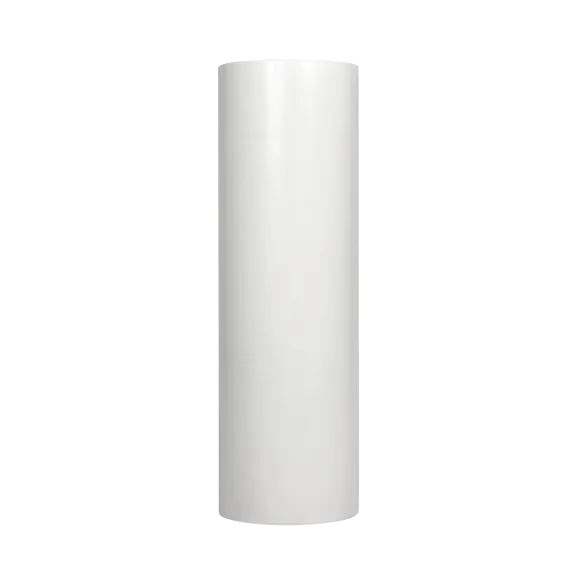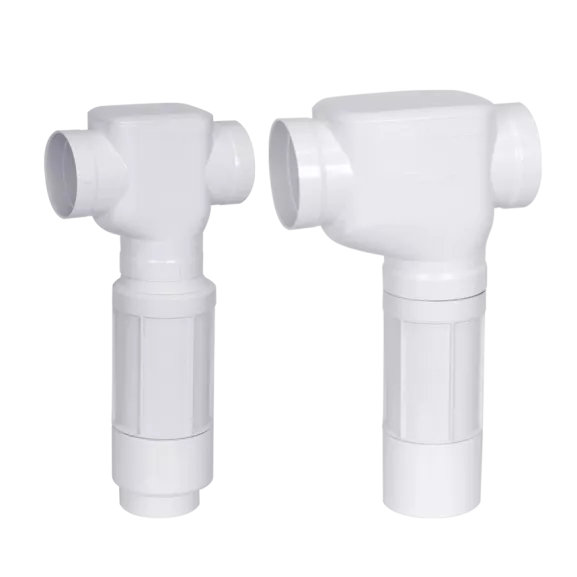
First Flush Carrot – Extra Volume
Divert your initial roof run-off (40L / 10 Gal) without the need for a traditional first flush storage chamber and ensure only the cleanest water reaches your tank.
Rain Harvesting is not just a way to get from one place to another. It connects us, as a community, right across the world. Our products are for all people in many countries. And so is our website.

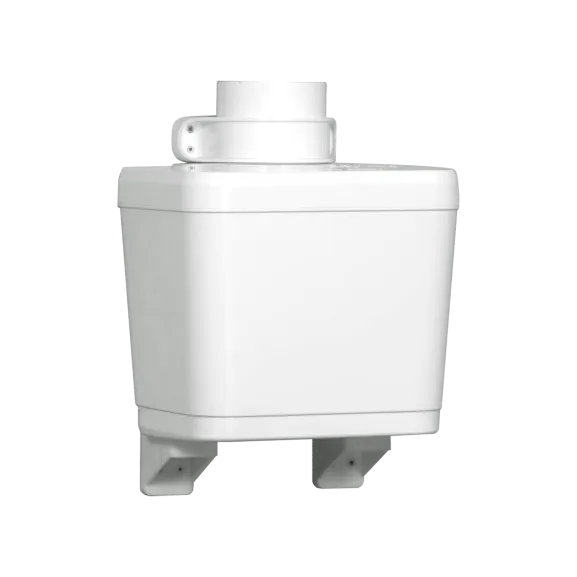
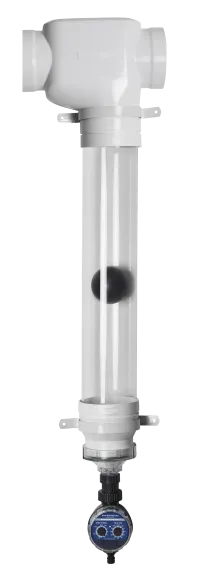
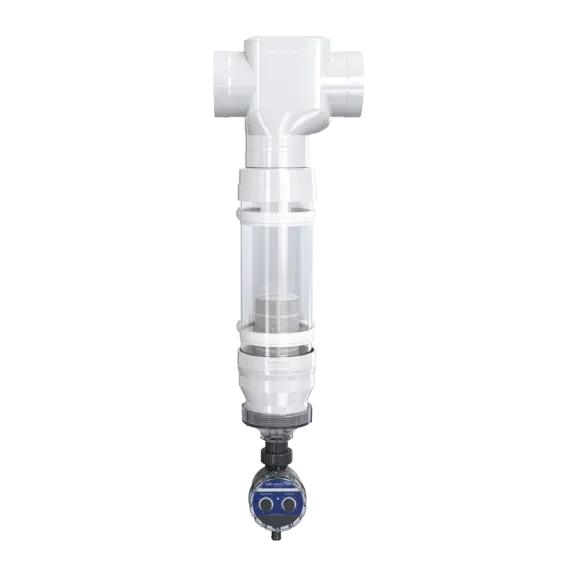
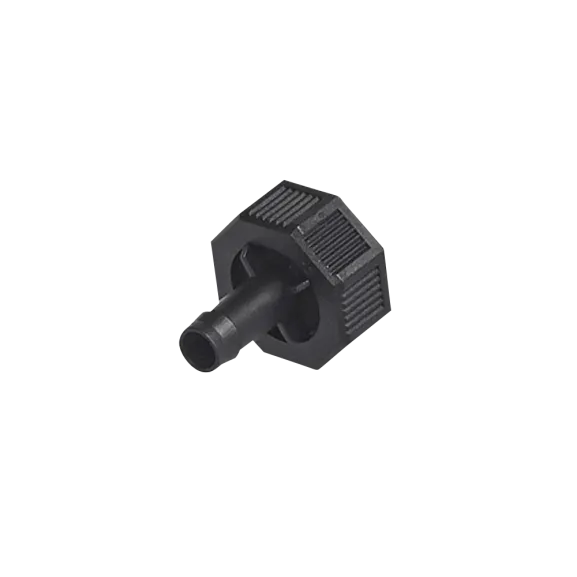
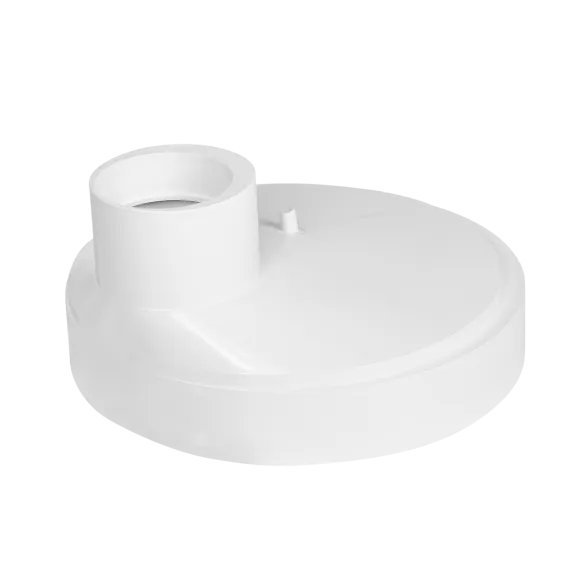
By isolating the first flush of contaminant-laden water before it reaches your tank, they will keep organic and inorganic fine particles out of the rainwater you harvest so you enjoy the benefits of cleaner rainwater for your property.
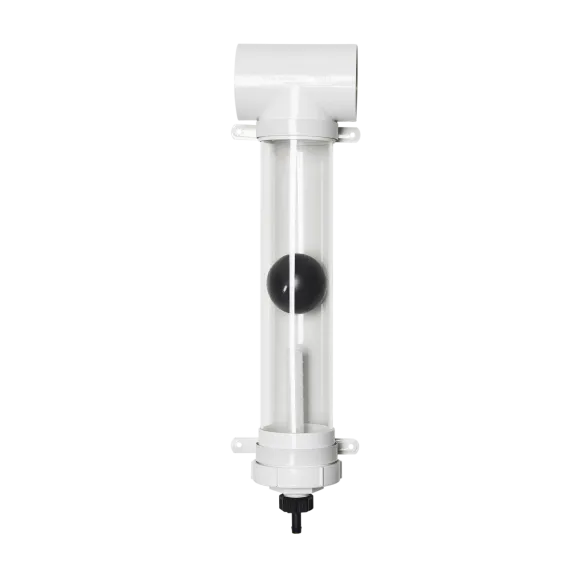
By isolating the first flush of contaminant-laden water before it reaches your tank, they will keep organic and inorganic fine particles out of the rainwater you harvest so you enjoy the benefits of cleaner rainwater for your property.
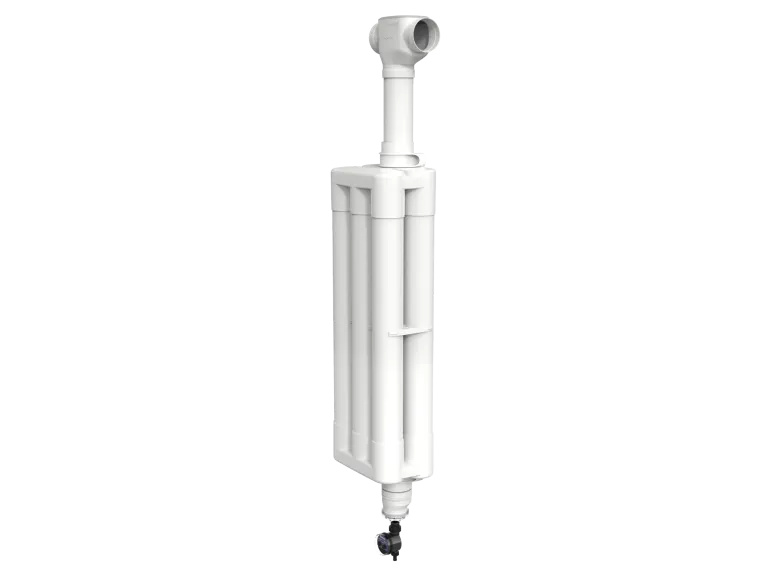
By isolating the first flush of contaminant-laden water before it reaches your tank, they will keep organic and inorganic fine particles out of the rainwater you harvest so you enjoy the benefits of cleaner rainwater for your property.
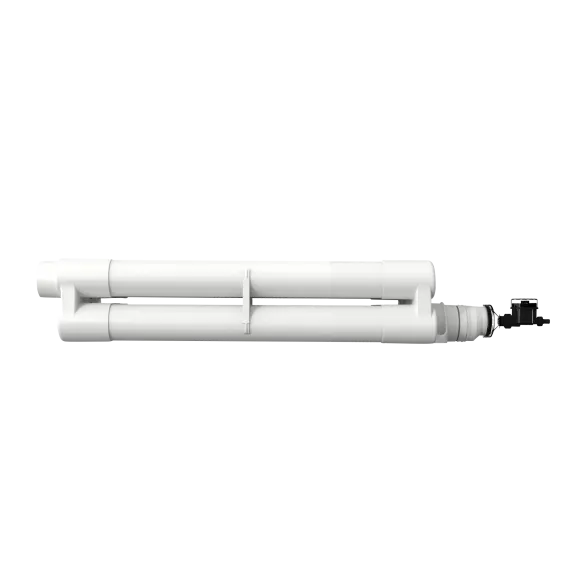
By isolating the first flush of contaminant-laden water before it reaches your tank, they will keep organic and inorganic fine particles out of the rainwater you harvest so you enjoy the benefits of cleaner rainwater for your property.
By isolating the first flush of contaminant-laden water before it reaches your tank, they will keep organic and inorganic fine particles out of the rainwater you harvest so you enjoy the benefits of cleaner rainwater for your property.
View the full product range from our home base in Australia.
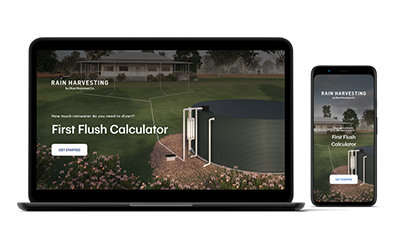
Easily calculate how much water you need to divert and discover which First Flush Diverter is right for you.

Improve your existing Rain Harvesting system or design a new one with the help of our experts and our free system design service.

A guide that will provide you with help and inspiration to start your rainwater harvesting journey today.

Improve your existing Rain Harvesting system or design a new one with the help of our experts and our free system design service.