


First Flush Carrot
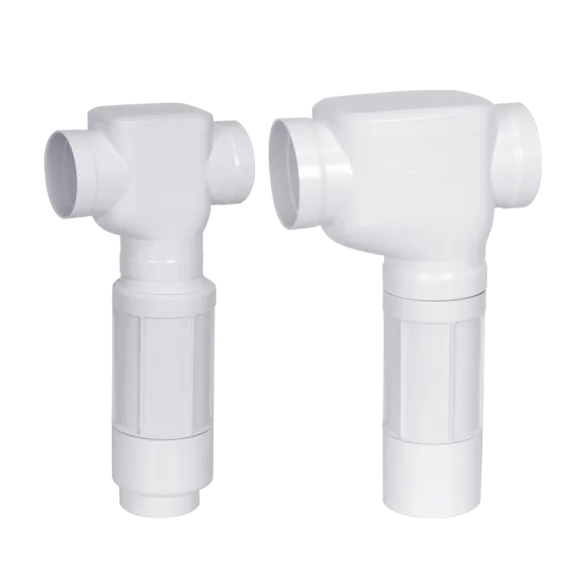
Divert your initial roof run-off without the need for a traditional first flush storage chamber and ensure only the cleanest water reaches your tank. It does not require a chamber (unlike traditional first flush diverters) which makes installation easy. It takes up less space and looks great on your wall. It diverts the first 20L/5 Gal and is perfect for medium catchment areas with low to moderate pollution.
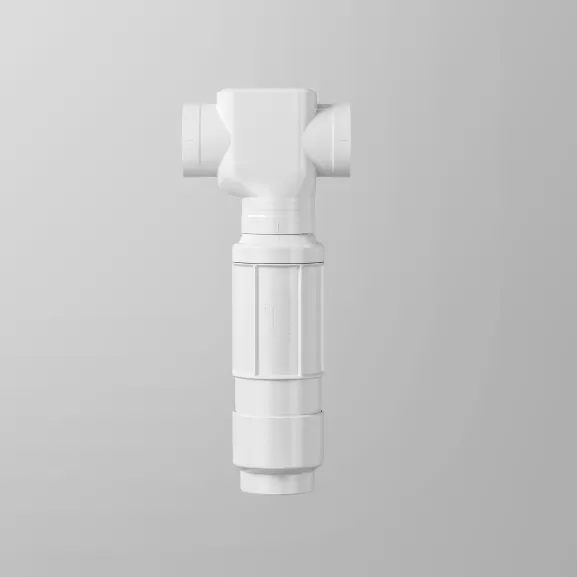
Compact Design
Effective First Flush Diversion
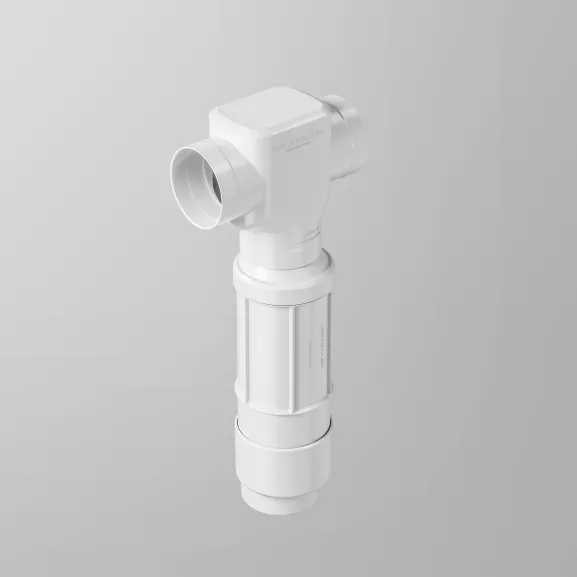
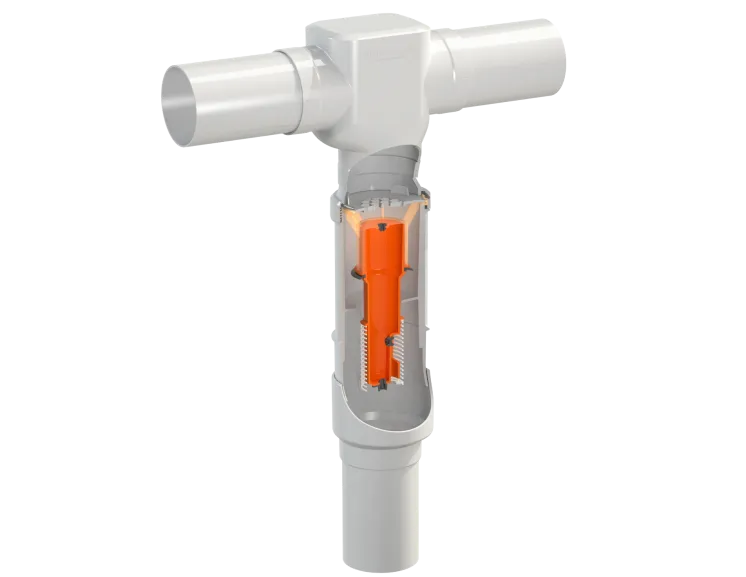
Catch-All Tee improves clean water yield
Adjust the diversion volume to suit your needs
Benefits
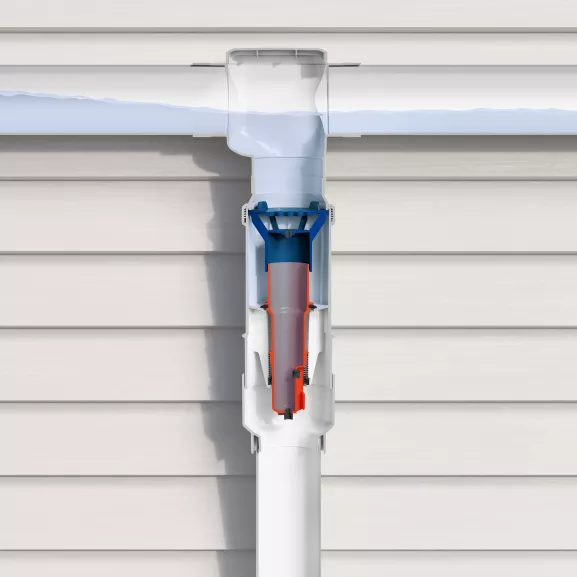
Effective first flush diversion
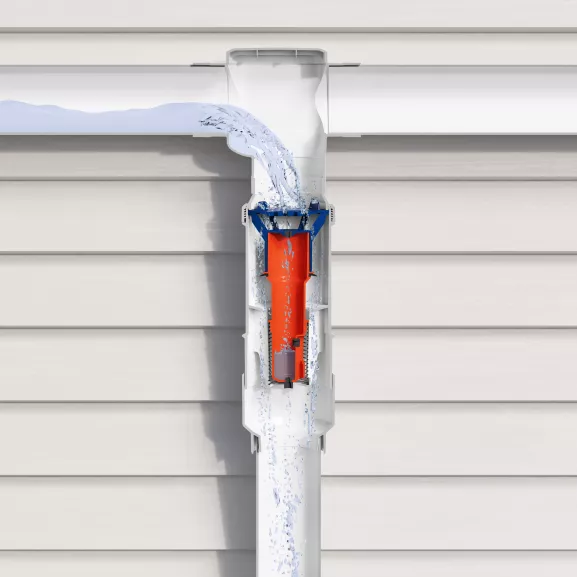
The First Flush Carrot automatically measures and diverts the first flush of rainfall from your roof without requiring a traditional storage chamber. This first wash of the roof contains the most contaminants, meaning that you will end up with the best quality water in your rainwater tank.
Benefits
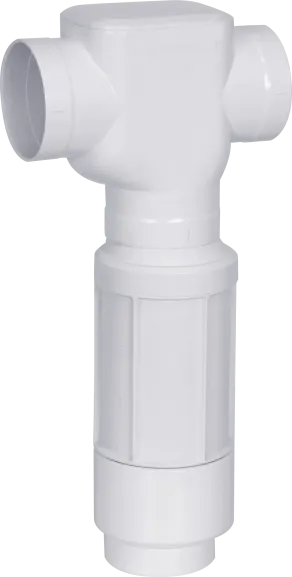
Compact Design
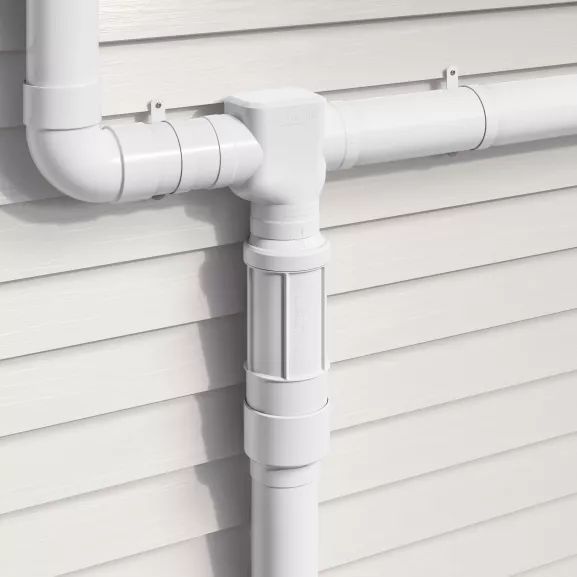
Most first flush diverters need a storage chamber for the dirty water, where it's held temporarily before it is discarded. Not here though - the clever design automatically diverts the water and seals without the need for a chamber meaning the First Flush Carrot is a more compact design which can fit anywhere.
Benefits
Catch-All Tee improves clean water yield
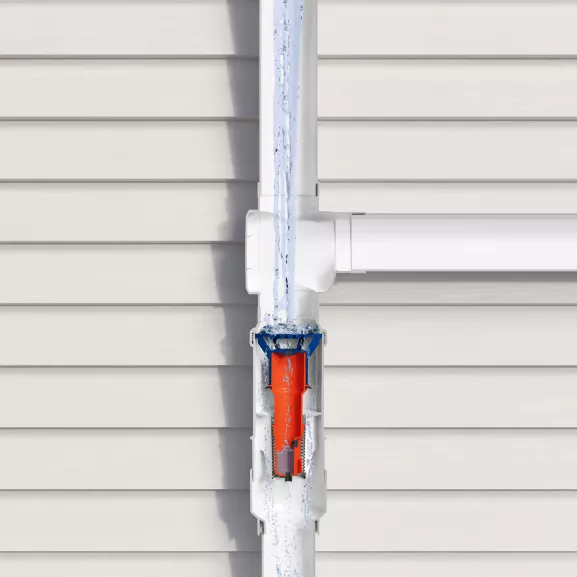
The Catch-All Tee ensures no water skips across the tee until the first flush of water is complete – which means you only capture the best quality water. The unique design incorporates a jump which makes it harder for dirty water to skip through. Standard tees can allow water to skip through at less than 1L/second. The Catch-All Tee won't let this happen, which means you only get clean water in your tank.
Benefits
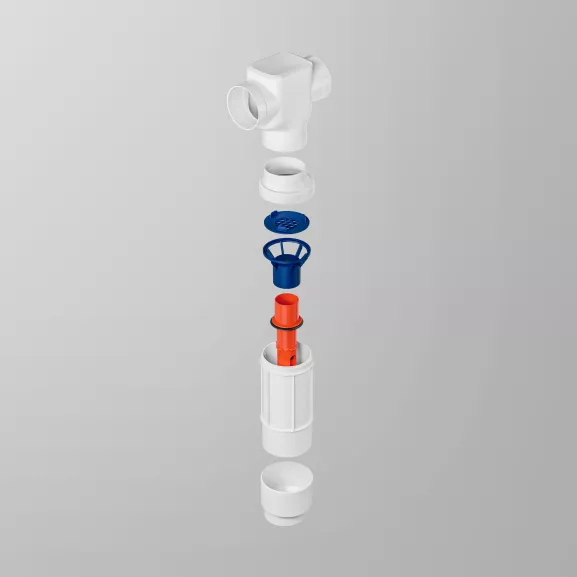
Adjust the diversion volume to suit your needs
We've set the Carrot up to divert around 20L/5 gal of water, but you can easily adjust it to suit your requirements. It just requires switching a few pieces out which we include in the kit. You can control how much first flush you want to divert, to give you the balance of water quality and quantity to suit your needs.
Benefits
Effective first flush diversion
The First Flush Carrot automatically measures and diverts the first flush of rainfall from your roof without requiring a traditional storage chamber. This first wash of the roof contains the most contaminants, meaning that you will end up with the best quality water in your rainwater tank.
Benefits
Compact Design
Most first flush diverters need a storage chamber for the dirty water, where it's held temporarily before it is discarded. Not here though - the clever design automatically diverts the water and seals without the need for a chamber meaning the First Flush Carrot is a more compact design which can fit anywhere.
Benefits
Catch-All Tee improves clean water yield
The Catch-All Tee ensures no water skips across the tee until the first flush of water is complete – which means you only capture the best quality water. The unique design incorporates a jump which makes it harder for dirty water to skip through. Standard tees can allow water to skip through at less than 1L/second. The Catch-All Tee won't let this happen, which means you only get clean water in your tank.
Benefits
Adjust the diversion volume to suit your needs
We've set the Carrot up to divert around 20L/5 gal of water, but you can easily adjust it to suit your requirements. It just requires switching a few pieces out which we include in the kit. You can control how much first flush you want to divert, to give you the balance of water quality and quantity to suit your needs.
Product Installation, Maintenance and Information
Specifications
All measurements are in mm unless specified otherwise
Click the drawing to view it in full size
Pipe Fitment
You may also like
We’re sorry, the product you are looking for is not available in this region. Click here to view all available products for this region.
If you need help, please contact our team who will be glad to assist.
Looking for something else?
View the full product range from our home base in Australia.
First Flush Calculator
Easily calculate how much water you need to divert and discover which First Flush Diverter is right for you.

Design Service
Improve your existing Rain Harvesting system or design a new one with the help of our experts and our free system design service.
Rain Harvesting™ Handbook
A guide that will provide you with help and inspiration to start your rainwater harvesting journey today.
Design Service
Improve your existing Rain Harvesting™ system or design a new one with the help of our experts and our free system design service.