

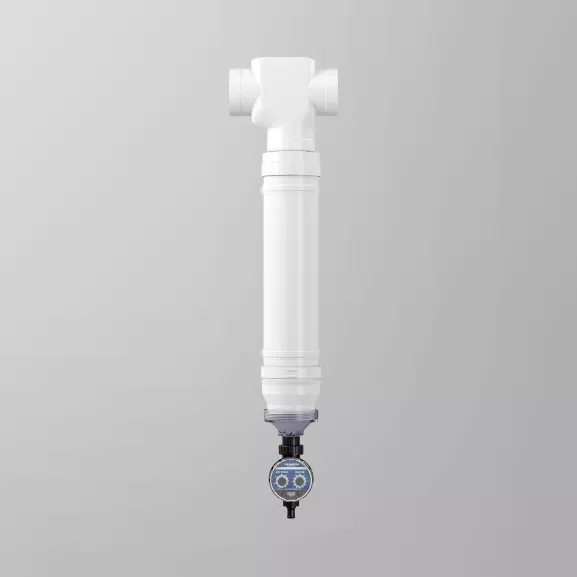

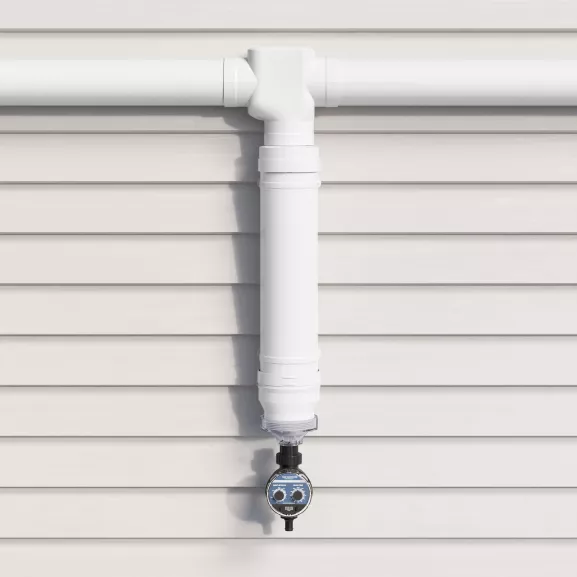
First Flush Max w/ Catch-All Tee and Electronic Valve
The Max Chamber increases the volume of water you can catch in a smaller area – thanks to its large diameter chamber. It means you can divert more water with less space, giving you the flexibility to fine tune your system easily.
We've also included the Catch-All Tee to ensure you only catch the best quality water, and the Electronic Release Valve to give you the ultimate control over how regularly your first flush diverter activates.
More First Flush with less space
Catch-All Tee improves clean water yield
Ultimate First Flush control
Divert contaminated water
Benefits
More First Flush with less space
The Max Chamber increases the volume of water you can catch in a smaller area – thanks to its large diameter chamber. It means you can divert more water with less space, giving you the flexibility to fine tune your system easily.
How does it work?
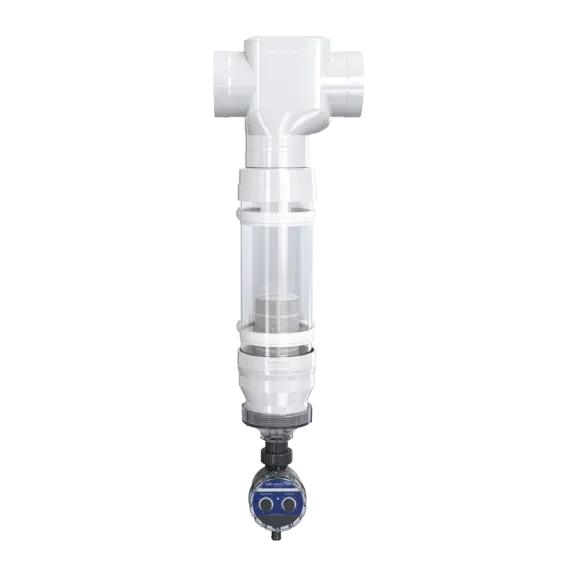
- The inlet and outlet on the tee are 90mm (or 80mm, 3", or other depending on which adaptors are used).
- The chamber actually expands to 100mm / 4" - so you can actually capture about 30% more water in the chamber per meter.
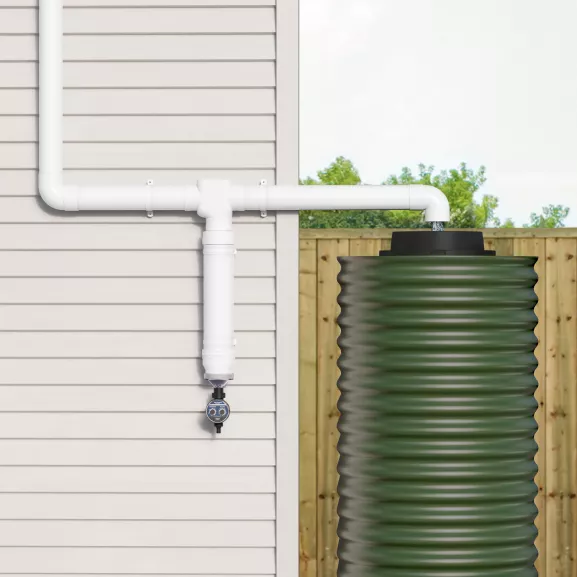
It means you can get the job done with a smaller length of pipe - which means less space on your wall to get the first flush volume you need.
Benefits
Catch-All Tee improves clean water yield
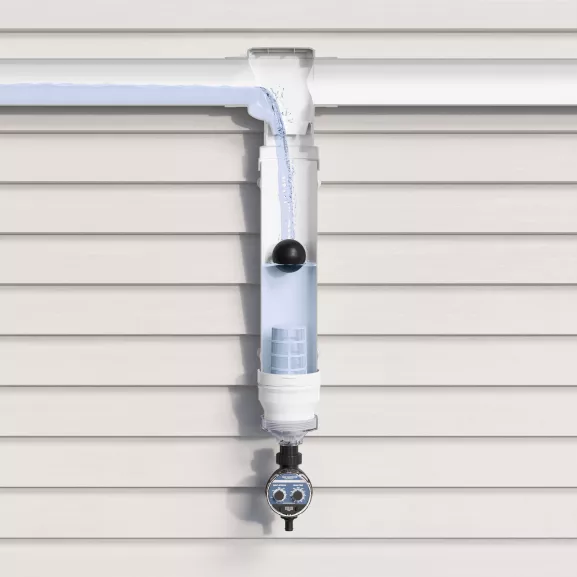
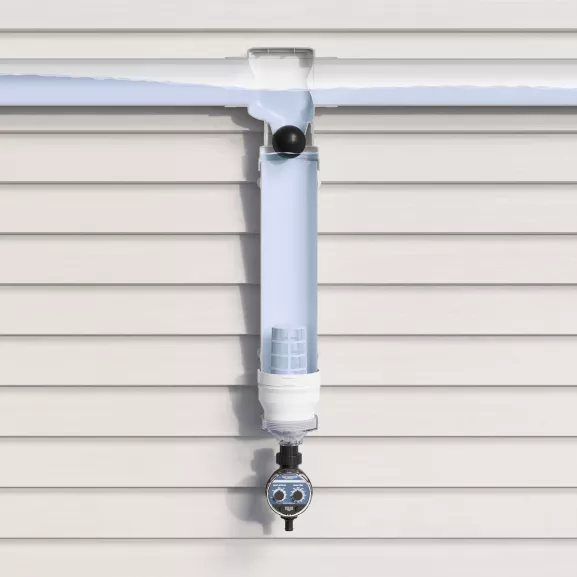
The Catch-All Tee ensures no water skips across the tee until the first flush of water is complete – which means you only capture the best quality water. The unique design incorporates a jump which makes it harder for dirty water to skip through. Standard tees can allow water to skip through at less than 1L/second. The Catch-All Tee won't let this happen, which means you only get clean water in your tank.
Benefits
Ultimate First Flush control
By setting the regularity of your first flush diversion, you can optimise how often your First Flush Diverter drains.
Do you want the best quality water possible? Set it to a regular reset interval of three days or less.
Do you need to maximise the volume of water your capture? Increase the reset interval to two weeks or more.
Want to start off with a great compromise of water quality and quantity? Try five days.
Benefits
More First Flush with less space
The Max Chamber increases the volume of water you can catch in a smaller area – thanks to its large diameter chamber. It means you can divert more water with less space, giving you the flexibility to fine tune your system easily.
How does it work?
- The inlet and outlet on the tee are 90mm (or 80mm, 3", or other depending on which adaptors are used).
- The chamber actually expands to 100mm / 4" - so you can actually capture about 30% more water in the chamber per meter.
It means you can get the job done with a smaller length of pipe - which means less space on your wall to get the first flush volume you need.
Benefits
Catch-All Tee improves clean water yield
The Catch-All Tee ensures no water skips across the tee until the first flush of water is complete – which means you only capture the best quality water. The unique design incorporates a jump which makes it harder for dirty water to skip through. Standard tees can allow water to skip through at less than 1L/second. The Catch-All Tee won't let this happen, which means you only get clean water in your tank.
Benefits
Ultimate First Flush control
By setting the regularity of your first flush diversion, you can optimise how often your First Flush Diverter drains.
Do you want the best quality water possible? Set it to a regular reset interval of three days or less.
Do you need to maximise the volume of water your capture? Increase the reset interval to two weeks or more.
Want to start off with a great compromise of water quality and quantity? Try five days.
Product Installation, Maintenance and Information
Specifications
All measurements are in mm unless specified otherwise
Click the drawing to view it in full size
Pipe Fitment
You may also like
We’re sorry, the product you are looking for is not available in this region. Click here to view all available products for this region.
If you need help, please contact our team who will be glad to assist.
Looking for something else?
View the full product range from our home base in Australia.

First Flush Calculator
Easily calculate how much water you need to divert and discover which First Flush Diverter is right for you.

Design Service
Improve your existing Rain Harvesting system or design a new one with the help of our experts and our free system design service.
Rain Harvesting™ Handbook
A guide that will provide you with help and inspiration to start your rainwater harvesting journey today.
Design Service
Improve your existing Rain Harvesting™ system or design a new one with the help of our experts and our free system design service.