
When considering rain harvesting, it’s easy for our minds to conjure images of large 6000L tanks connected to a complex network of downpipes. While this may indeed be the case for some, it doesn’t have to be the only way. Enter the rain barrel – the simpler, cost-effective alternative to large-scale rainwater harvesting systems.
What is a Rain Barrel?
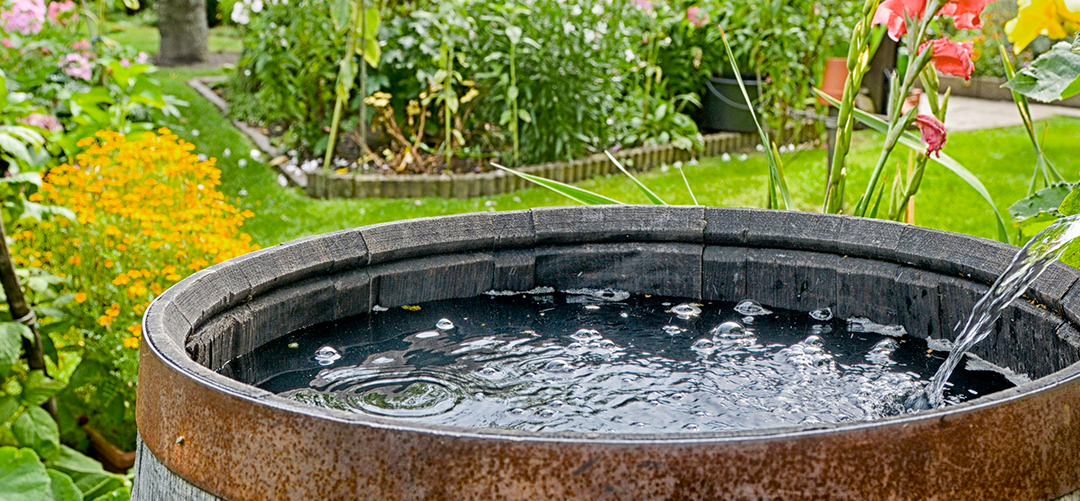
A rain barrel is a system designed to collect and store rainwater from your roof that would otherwise be lost to runoff and diverted to storm drains and streams. It’s typically installed at a gutter downspout to capture rainwater. Sizes can vary, but you’ll commonly find 200 – 300L plastic rain barrels in gardening or hardware stores.
In essence, a rain barrel acts as a mini reservoir, providing an environmentally friendly alternative to using municipal or well water.

Why Rain Barrels are Great
Rain barrels have numerous benefits, making them an excellent choice over large tank systems. Here’s why:
Easy Installation
One of the primary advantages of rain barrels is their ease of installation. Unlike large tanks, you won’t need to hire a plumber or spend an entire weekend setting it up. A suitable spot under a downspout is all you need.
Expandable System
Rain barrels offer flexibility. You can easily expand your system by adding multiple rain barrels, these can easily be linked together using a Rain Barrel Linking Kit.
Cost-Effective
Rain barrels are also a cost-effective solution for rainwater harvesting. Plastic barrels range from $50 to $250, significantly less than the investment required for a large tank.
Better for Plants
Rainwater is naturally soft, free of chlorine, calcium, and lime, making it excellent for plants. Using rainwater from your barrel can keep your garden healthy and thriving.
Water Conservation
Rain barrels contribute to water conservation. By collecting and storing rainwater, you reduce the need for tap water, saving both a precious resource and money on your water bill.
How to Install a Rain Barrel
Setting up a rain barrel at your home does not require any professional assistance and can be accomplished in three easy steps.
Step 1: Select a Location
The first step involves choosing a spot near a downspout. Ensure the location is flat and stable to support the weight of a full barrel, which can be over 400 pounds.
Step 2: Install a Downpipe Diverter
The next step involves the installation of a downpipe diverter. These diverters come in many shapes and forms, ranging from those with built-in leaf filtering to in-pipe diverters for quick and easy collection. The purpose of a diverter is to direct water from the downspout into the barrel. During heavy rains, once the barrel is full, the diverter will channel excess water away through the downspout, preventing overflow.
View our full range of Downpipe Diverters here
Step 3: Connect your Hose to Your Rain Barrel
Finally, connect your hose to your rain barrel. Most downpipe diverters come with a simple hose connection, allowing you to attach a garden hose for easy water collection. However, with the Rain Harvesting Downpipe Diverter Range, you can connect our hi-flow Downpipe Diverter Hose Kit to capture up to 600 L/hour. Learn more here
While large tanks may be the first image that comes to mind when considering rainwater harvesting, rain barrels offer a simple, cost-effective, and environmentally friendly alternative. They’re easy to install, expandable, and perfect for those wanting to dip their toes into the world of rainwater harvesting.