
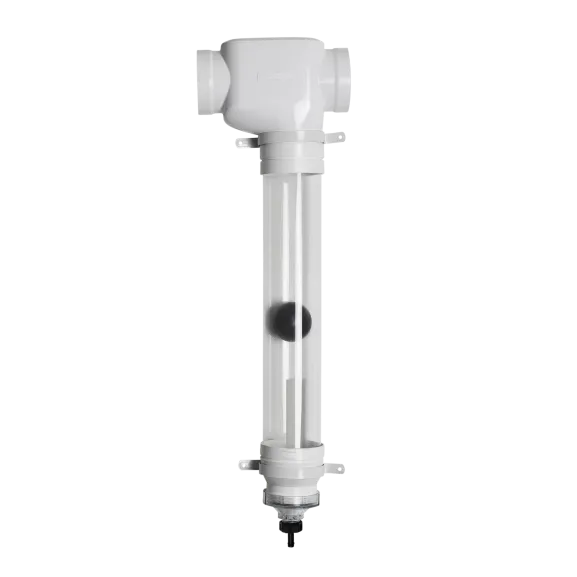
First Flush w/ Catch-All Tee
Protect your rainwater quality by diverting the most contaminated water that washes off your roof with the first few millimetres of rainfall with a first flush diverter. We've included the Catch-All Tee to ensure no water skips across the tee until the first flush of water is complete – which means you only capture the best quality water. It's a great step up from the Basic Tee.
Divert contaminated water
Catch-All Tee improves clean water yield
It works automatically
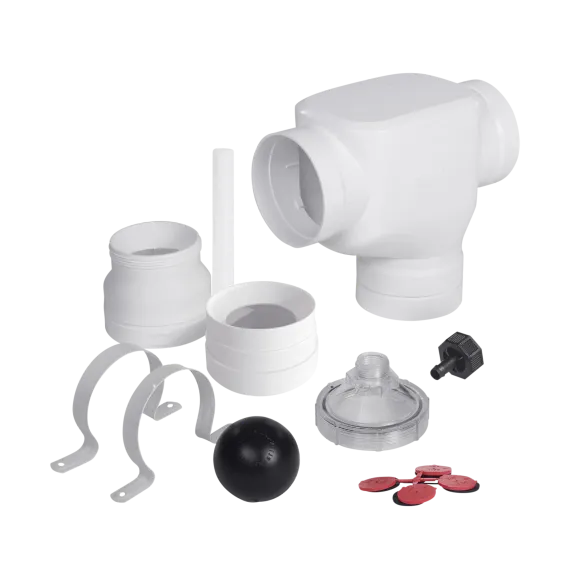
Just add pipe
Benefits
Catch-All Tee improves clean water yield
The Catch-All Tee ensures no water skips across the tee until the first flush of water is complete – which means you only capture the best quality water. The unique design incorporates a jump which makes it harder for dirty water to skip through. Standard tees can allow water to skip through at less than 1L/second. The Catch-All Tee won't let this happen, which means you only get clean water in your tank.
Benefits
Improve your rainwater quality
By diverting and discarding the most contaminated water from your roof, the First Flush Basic helps keep hazardous bacteria and fine particles out of your tank. This improves the quality of the rainwater you collect and is a key step in effective rain harvesting practices.
Benefits
It works automatically
Slow Release valve automatically drains your chamber over time so you are ready for the next rainfall event.
Benefits
Catch-All Tee improves clean water yield
The Catch-All Tee ensures no water skips across the tee until the first flush of water is complete – which means you only capture the best quality water. The unique design incorporates a jump which makes it harder for dirty water to skip through. Standard tees can allow water to skip through at less than 1L/second. The Catch-All Tee won't let this happen, which means you only get clean water in your tank.
Benefits
Improve your rainwater quality
By diverting and discarding the most contaminated water from your roof, the First Flush Basic helps keep hazardous bacteria and fine particles out of your tank. This improves the quality of the rainwater you collect and is a key step in effective rain harvesting practices.
Benefits
It works automatically
Slow Release valve automatically drains your chamber over time so you are ready for the next rainfall event.
Product Installation, Maintenance and Information
Specifications
All measurements are in mm unless specified otherwise
Click the drawing to view it in full size
Pipe Fitment
You may also like
We’re sorry, the product you are looking for is not available in this region. Click here to view all available products for this region.
If you need help, please contact our team who will be glad to assist.
Looking for something else?
View the full product range from our home base in Australia.
First Flush Calculator
Easily calculate how much water you need to divert and discover which First Flush Diverter is right for you.

Design Service
Improve your existing Rain Harvesting system or design a new one with the help of our experts and our free system design service.
Rain Harvesting Handbook
A guide that will provide you with help and inspiration to start your rainwater harvesting journey today.
Design Service
Improve your existing Rain Harvesting system or design a new one with the help of our experts and our free system design service.